The digital workflow
Scan → Design → Production → Finishing → Quality Control → Delivery
01
Step 01 · Scan
Scan
We receive an STL from your intraoral scanner, scan your conventional impression in the lab, or come to you for a digital impression.
- STL / PLY / OBJ files
- 3Shape & Medit scanners
- In-clinic scanning service
02
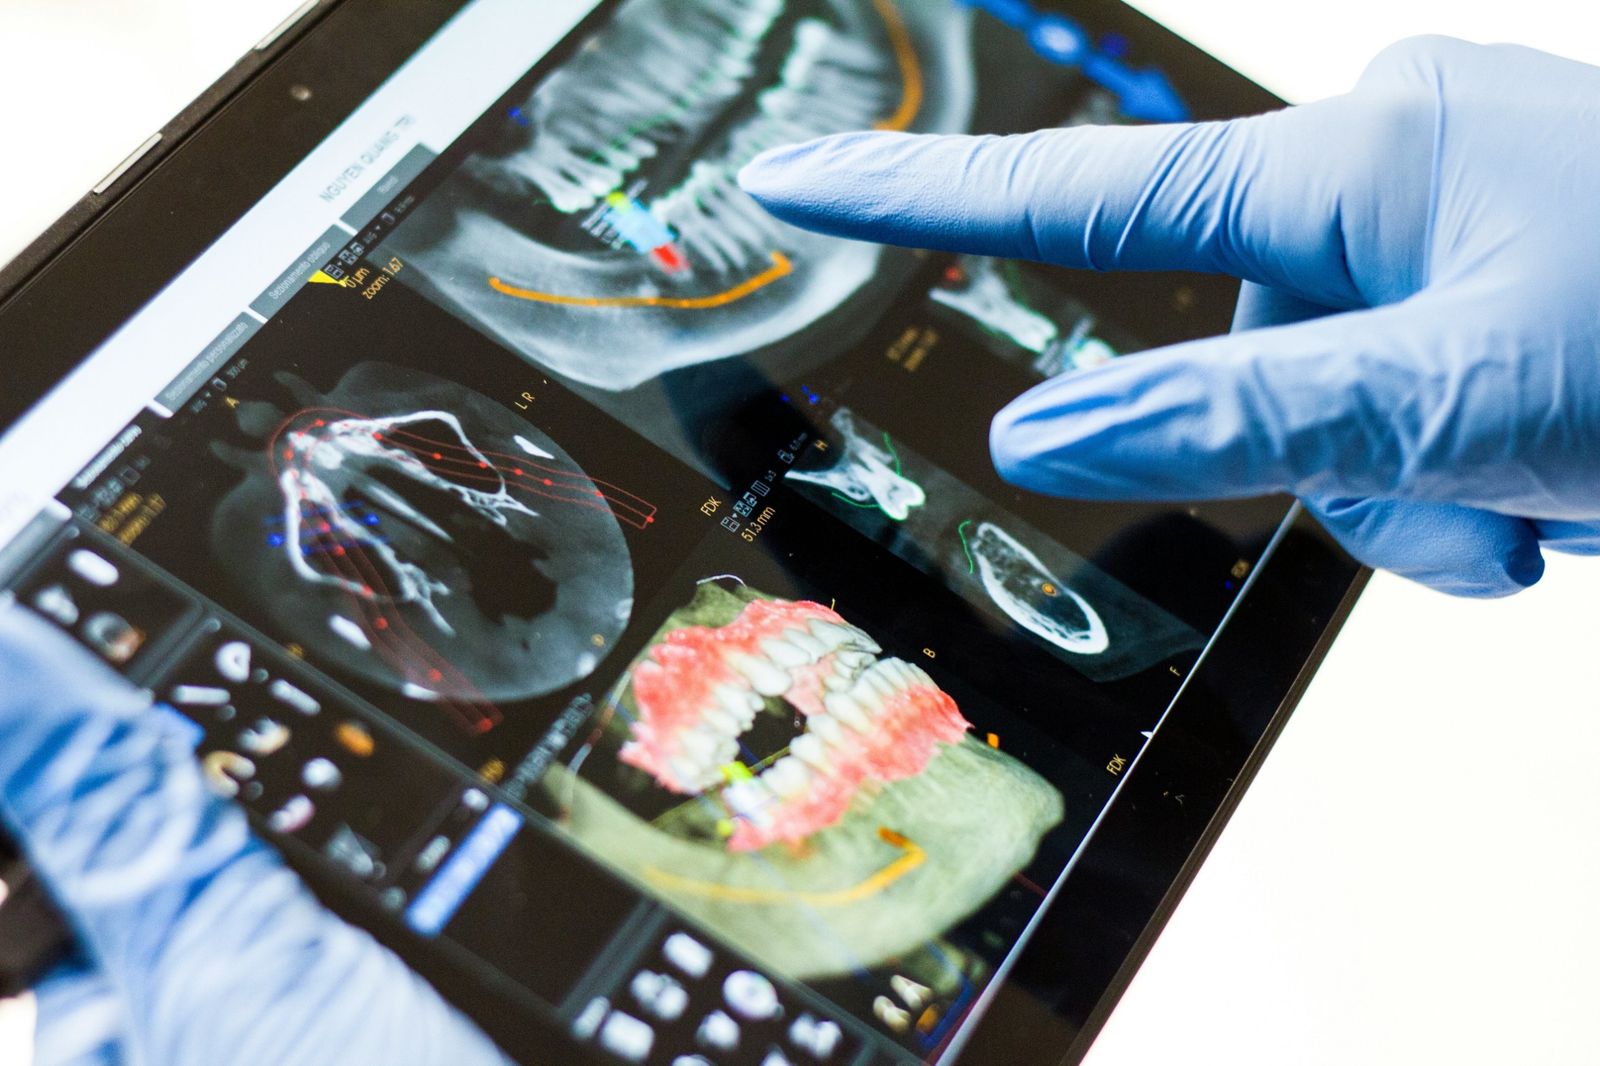
Step 02 · Design
Design
The technician designs the restoration on screen — margins, contacts, occlusion and smile form — and can share it with you for approval.
- CAD design
- Digital Smile Design
- Doctor approval before production
03
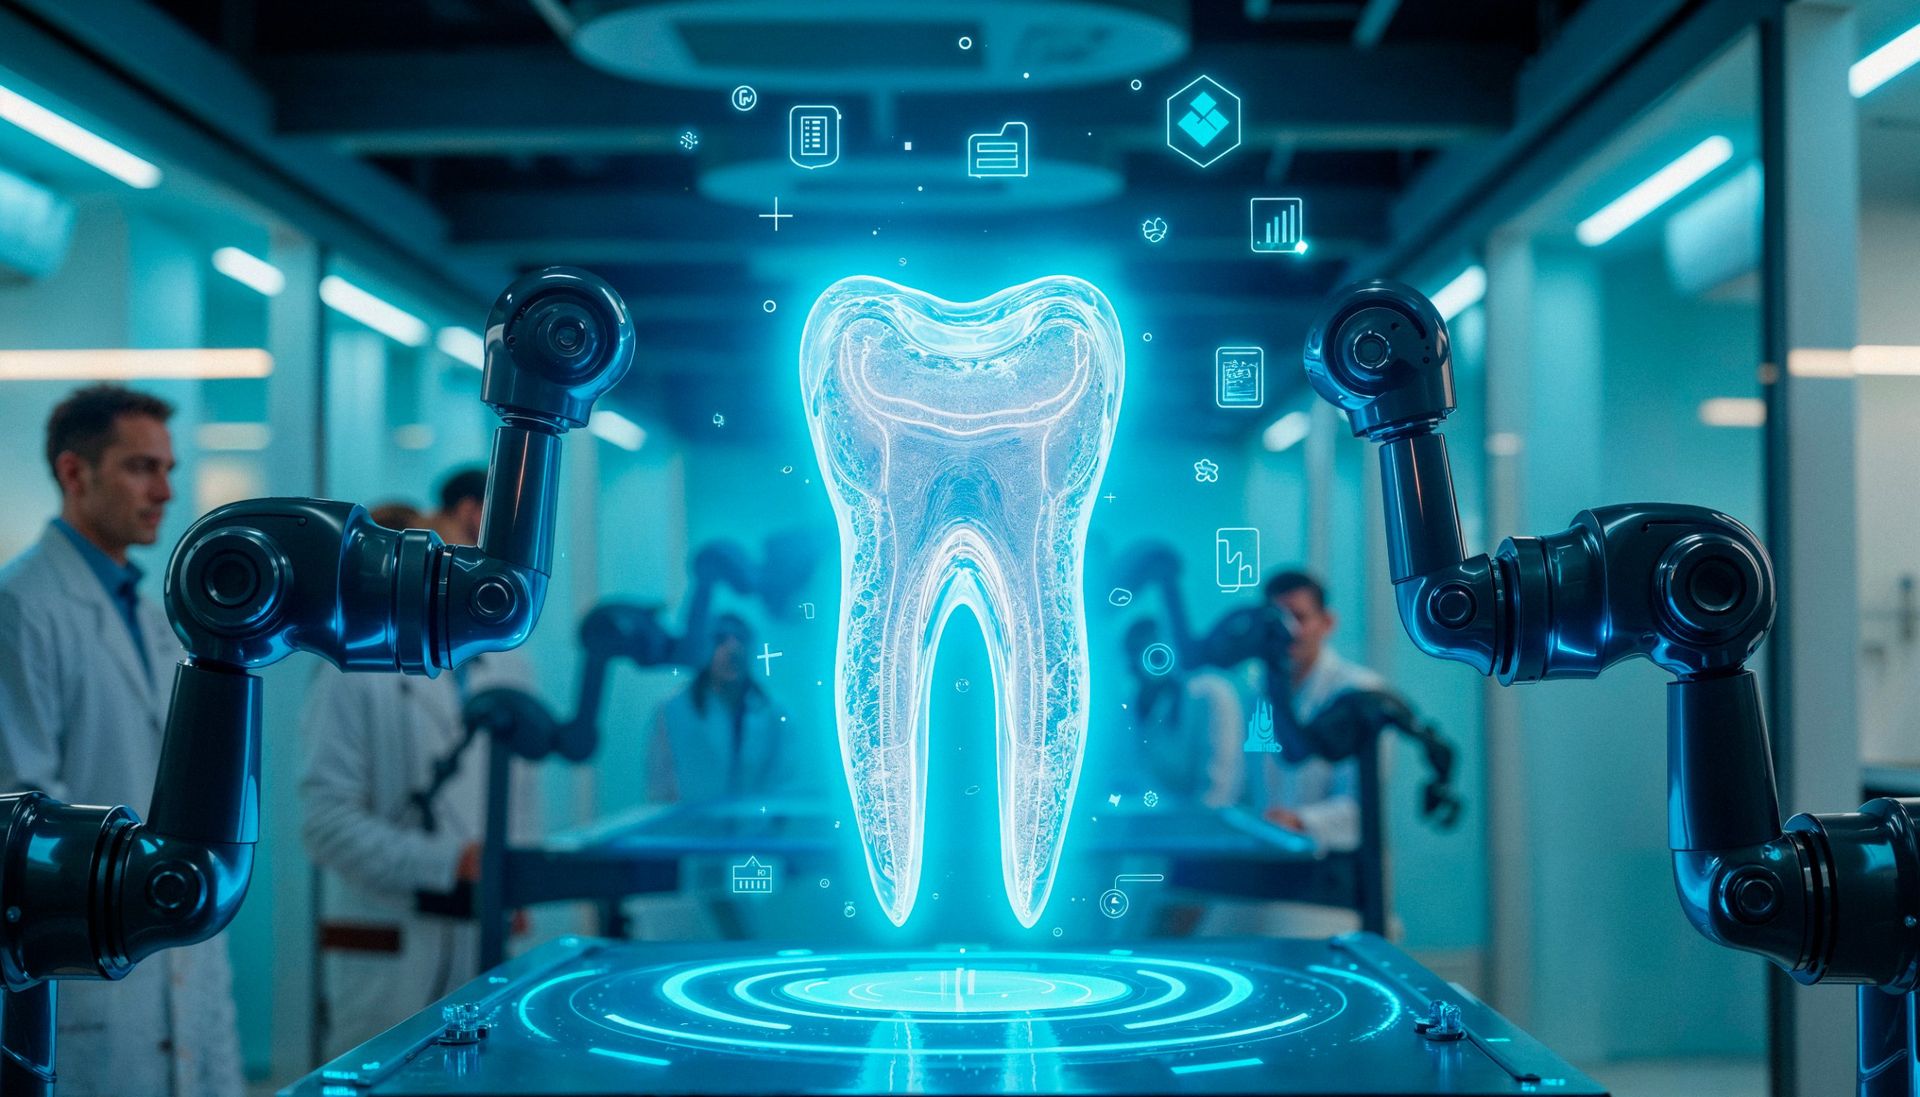
Step 03 · Production
Production
The design becomes a physical piece through precision milling or 3D printing.
- Roland & Redon milling
- Asiga printing
- Ivoclar firing
04
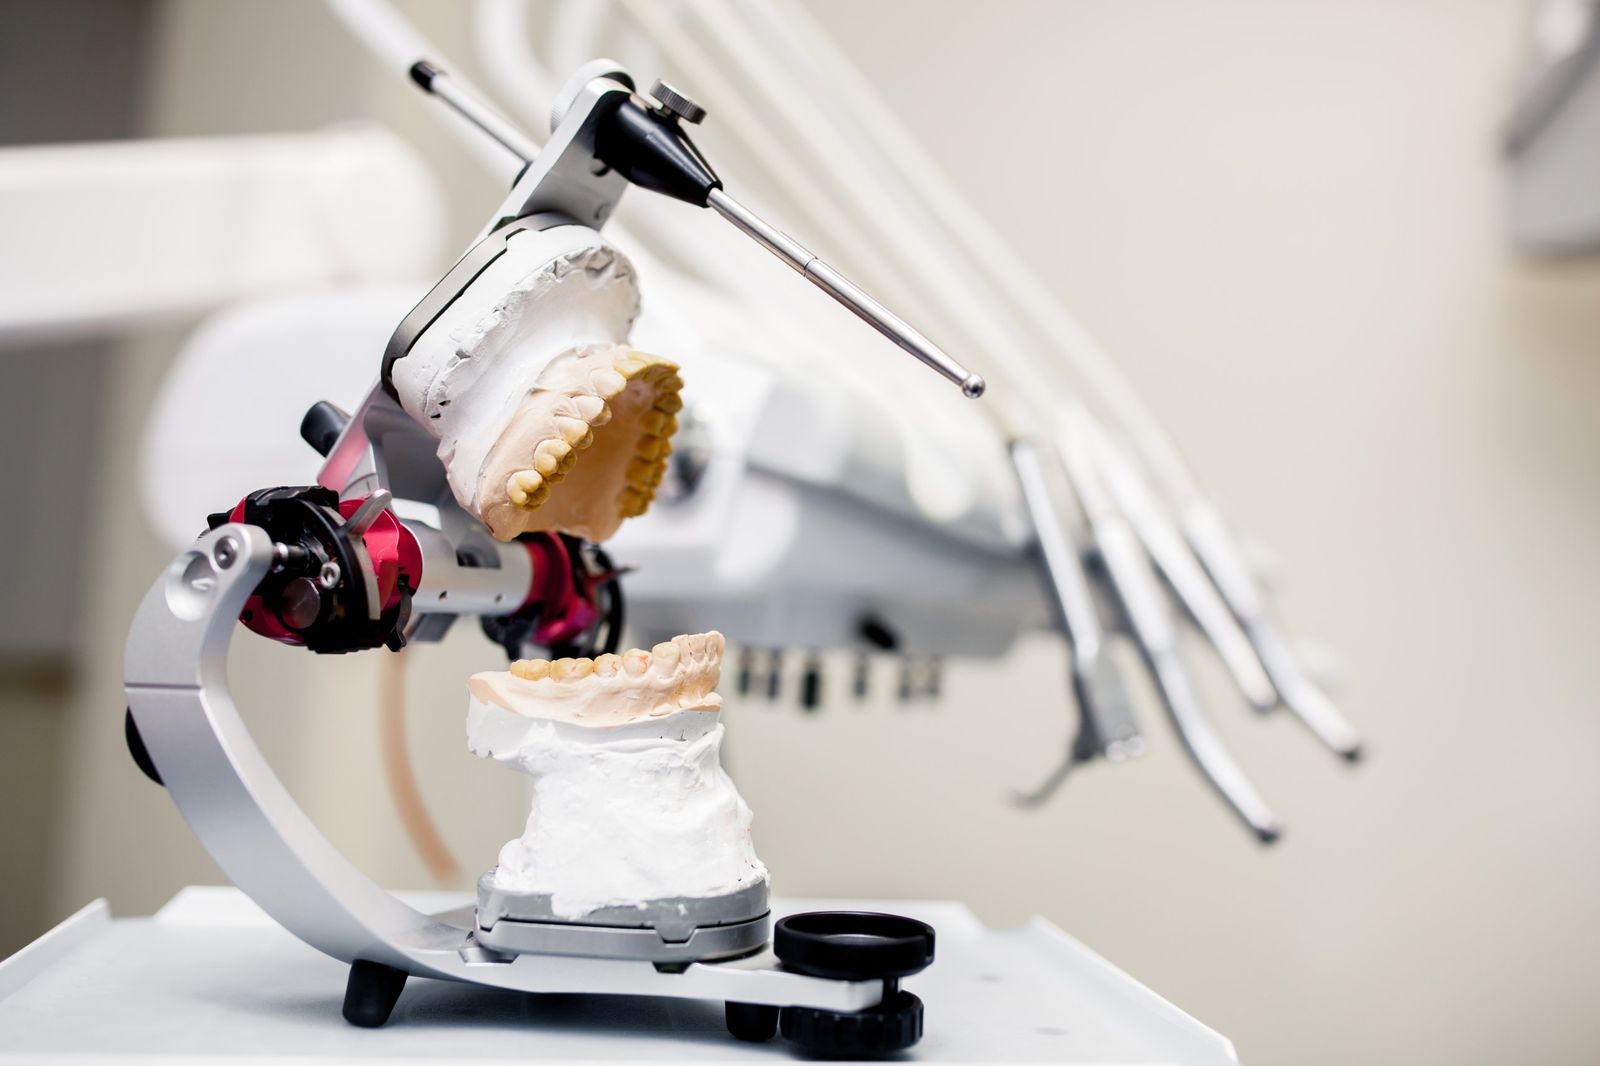
Step 04 · Finishing
Finishing
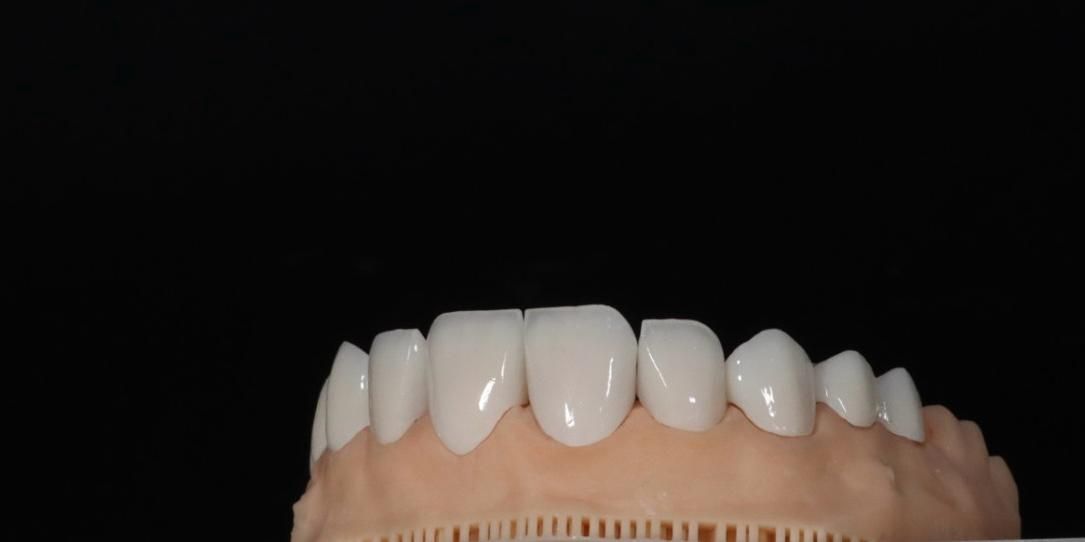
Staining, glazing and hand polishing give the restoration the vitality of a natural tooth.
- GC stains & layering
- Glaze & polish
- Natural surface texture
05
Step 05 · Quality Control
Quality Control
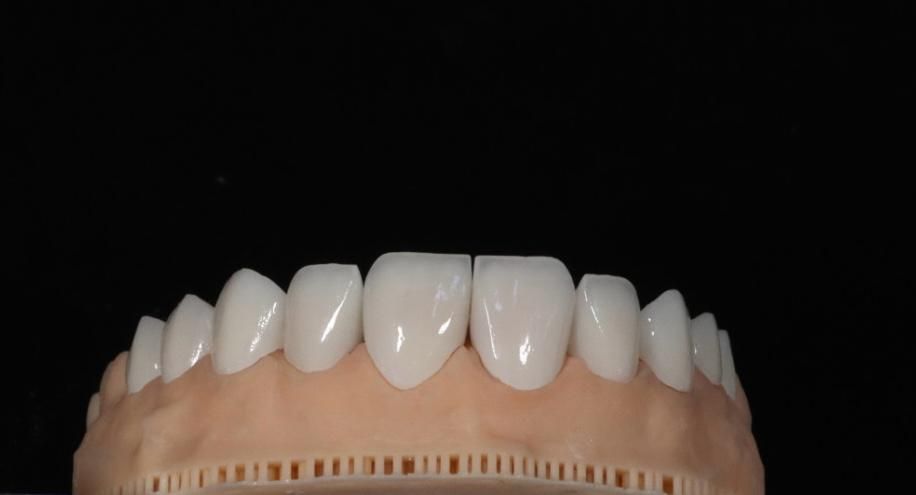
We check fit, contacts, occlusion and shade on the model before dispatch.
- Margin check
- Occlusion check
- Shade verification
06
Step 06 · Delivery
Delivery
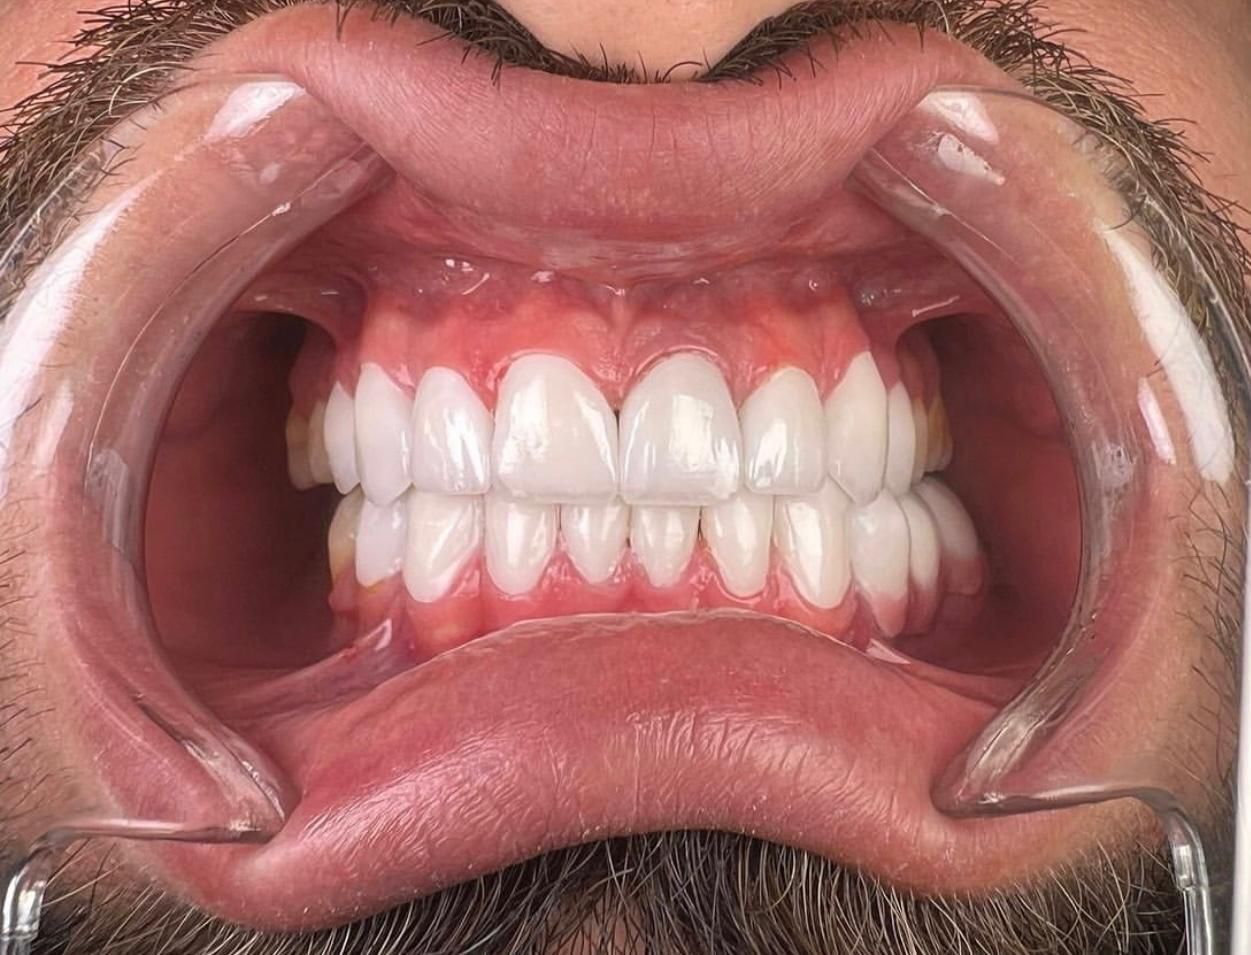
We deliver to your clinic, carefully packed, with follow-up after cementation.
- Delivery within Baghdad
- Safe packaging
- Post-fit follow-up
Ready to send your next case?
Upload your STL and photos in two minutes, or message us directly on WhatsApp.